Send a fax from your phone in minutes
No machine, no landline, no trip to the office. Fax App sends your documents over a secure, HIPAA-compliant connection — trusted by millions for taxes, medical forms, and legal paperwork.
HIPAA-compliant · Cancel anytime
Three steps, no machine
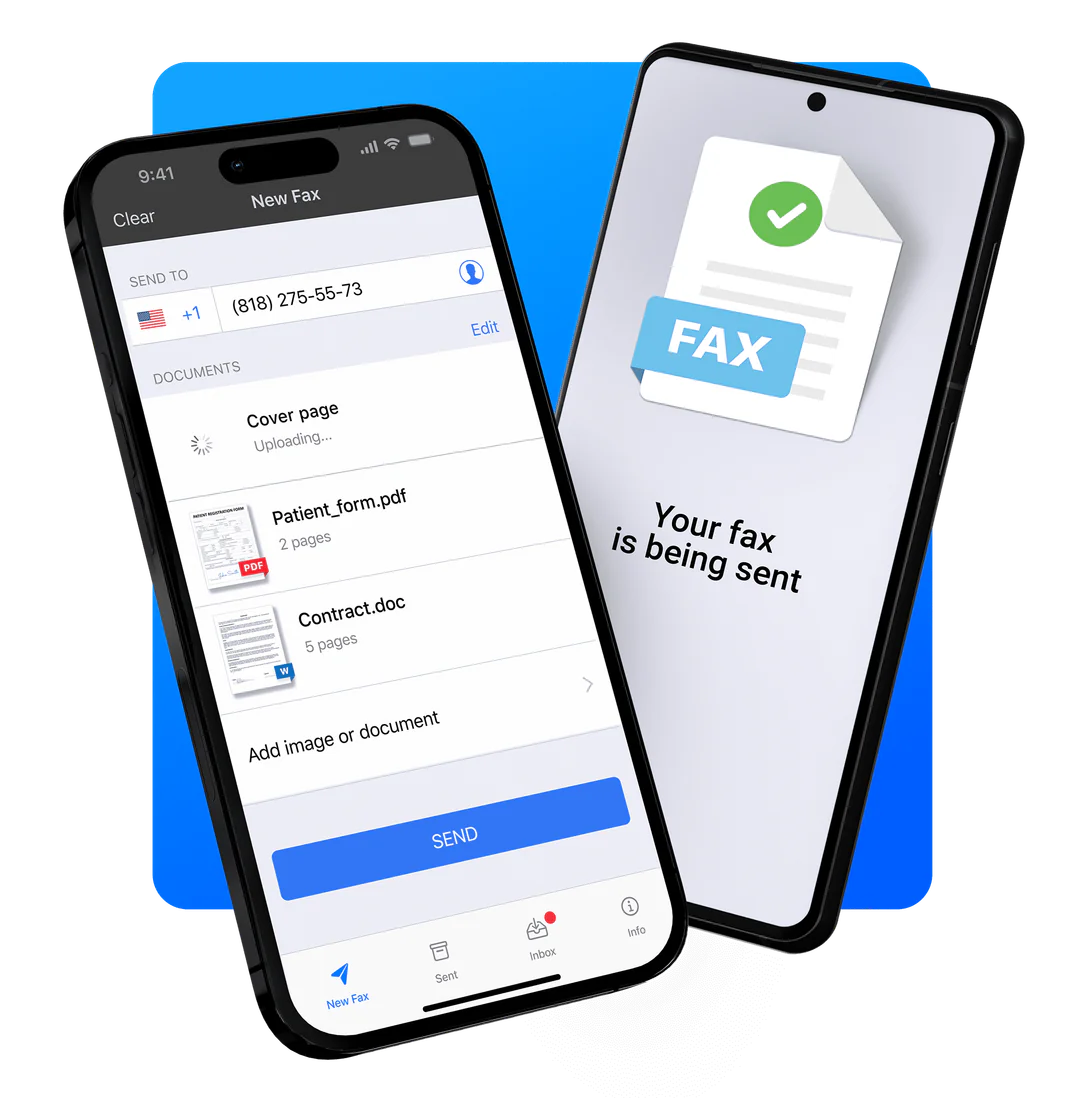
Add your document
Snap a photo, pick a PDF, or pull a file from Google Drive, Dropbox, or iCloud.
Enter the fax number
Any fax number in the US or 90+ countries. Add a cover sheet if you need one.
Send and relax
We confirm the moment your fax is delivered, with a receipt you can keep.
DeliveredA real US fax number, included
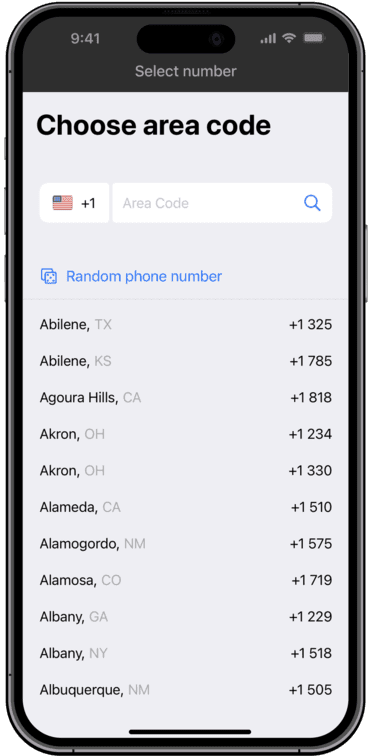
Every plan comes with a fax number from any US state you choose — yours for as long as you’re subscribed. Hand it to your doctor, your bank, or the IRS, and incoming faxes land in the app, not on a machine. No page limits in either direction: send and receive as much as you need.
Online fax, reinvented
Everything the old fax machine did — without the machine, the phone line, or the paper jams.
Fax any document, from anywhere
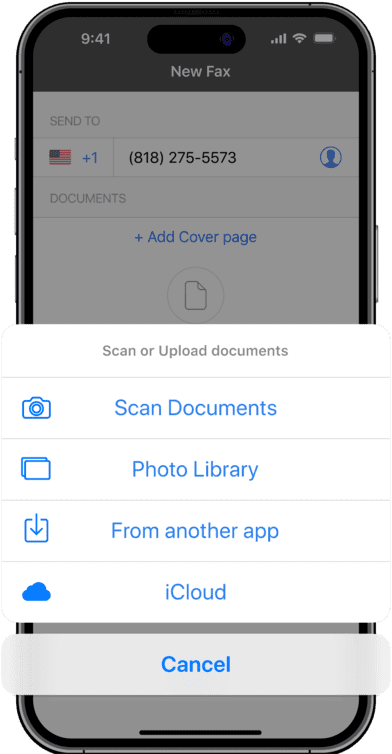
Import a PDF, snap a photo of a paper form, or pull from cloud storage. Fax App sends it to any fax number in 90+ countries.
Built for sensitive paperwork
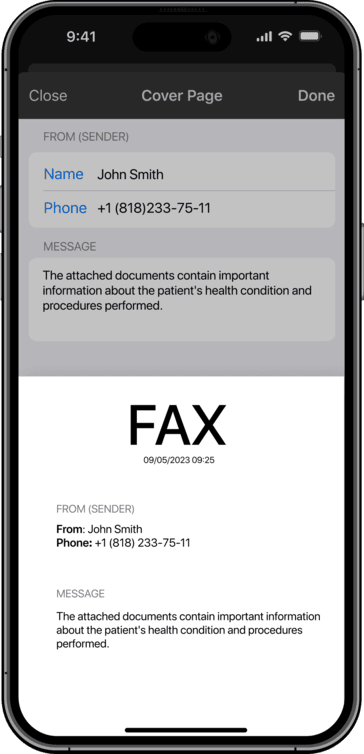
Certified by Compliancy Group against HIPAA safeguards. Add a cover page and send medical, tax, and legal documents securely. Healthcare organizations can sign a BAA.
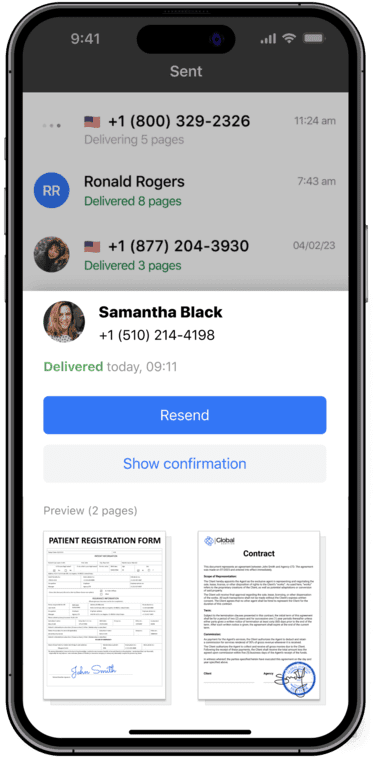
Know the moment it arrives
Get a push notification and a timestamped receipt the instant your fax is delivered, so you are never left wondering.
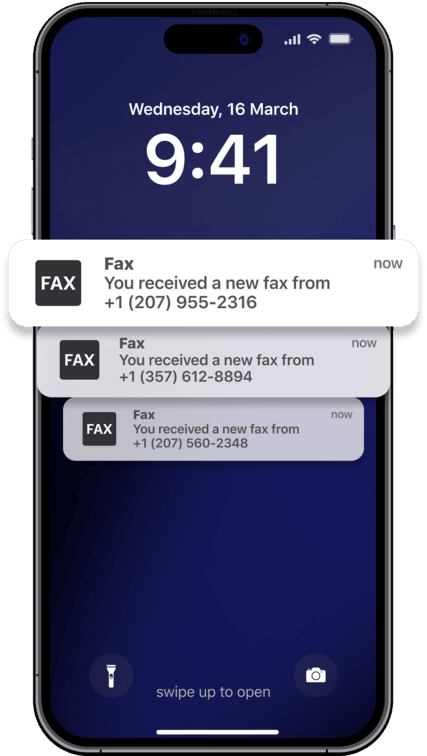
A real fax number that receives too
Incoming faxes land right in the app with a push notification — unlimited pages, no machine, on the US number included with your plan.
Fax however suits you
One account, every device. Pick the way that fits the moment.
Fax from any browser at everyfax.com — desktop or laptop. EveryFax plans come with free trials of up to 30 days.
Open the web faxing appTrusted when it matters most
370,000+ ratings · 4.8★ average across the App Store & Google Play
Super quick and easy to use. Pretty straightforward and user friendly. I’m not a fan of the pricing as I only needed to use it temporarily, but love that it’s convenient and organized.
Exceptional! I was flying abroad and needed to send a fax. This app was a life saver! Easy to use, and you are also notified once the fax has been received at the destination.
Best online faxing I’ve found! No caps on the size of the file or the number of pages you can send, and it was so quick and easy! No nonsense! Awesome!
One plan, everything included
Send a one-page test fax for free and see how it works. Plans run from $9.99 a week to $249.99 a year — every plan includes unlimited pages, a free US fax number, and international faxing. Cancel anytime.
Before you fax
Can I fax the IRS with Fax App?
Is Fax App HIPAA-compliant?
What file types can I send?
Can I receive faxes?
Does it work internationally?
How do I know my fax arrived?
More questions? See plans and pricing
We know the fax landscape
Hands-on comparisons and plain-English guides from the Fax App team.
Every major fax service, tested and scored.
Read the comparison Tested by Fax AppBest Free Fax ServicesWhat “free” really gets you, compared.
Read the comparison Tested by Fax AppBest iPhone Fax AppsThe top faxing apps for iOS, ranked.
Read the comparison Tested by Fax AppBest Android Fax AppsThe top faxing apps for Android, ranked.
Read the comparison IRS fax numbers by formWhere to fax 2553, 2848, SS-4 and more.
Read the guide Fax near meWhat faxing costs at stores and libraries near you.
Read the guideYour next fax is a tap away
Download Fax App and send your first fax. Available on iPhone, Android, and the web.